Introduction
There is something deeply satisfying about a perfectly cooked ear of corn. The moment you bite through that golden, plump kernel and sweet juice rushes out — that is summer cooking at its finest. But achieving that result is not as automatic as it sounds. Overcook it and you end up with mushy, starchy kernels that have lost all their natural sweetness. Undercook it and the corn is tough, almost chewy in a way that feels raw. The difference between the two comes down to one critical factor: knowing exactly how long to boil corn.
If you’ve ever stood at the stove wondering whether five minutes is enough or ten minutes is too many, you are not alone. It’s one of the most commonly searched cooking questions in America, and for good reason — corn is a staple at barbecues, cookouts, weeknight dinners, and summer gatherings from coast to coast. Getting it right matters.
This guide covers everything you need to know about boiling corn on the cob: the right timing for different types of corn, how to prepare your pot correctly, what to add to the water for extra flavor, how to tell when it’s done, common mistakes to avoid, and how to keep it warm once it’s cooked. By the time you reach the end, you’ll never second-guess your corn again.
How Long Does It Actually Take to Boil Corn on the Cob?
Let’s get straight to the answer most people are looking for. For fresh, sweet corn on the cob, the standard boiling time is 3 to 5 minutes in already-boiling water. That’s it. Three to five minutes is genuinely all it takes when your corn is fresh, the water is at a full rolling boil before the corn goes in, and your pot is large enough to hold the ears without crowding.
Many home cooks dramatically overcook corn because older recipes suggest 10 to 15 minutes, which was written for tougher, less selectively bred varieties. Modern sweet corn — including popular varieties like Silver Queen, Honey Select, and Peaches and Cream — has been cultivated for tenderness and natural sugar content. These varieties need far less time to reach their peak.
Here is a simple timing guide based on corn type and condition:
Fresh sweet corn (just picked or same-day farm stand) needs only 3 minutes once the water returns to a boil. It is already at peak sweetness and tenderness and requires minimal cooking.
Standard grocery store corn — typically 1 to 3 days old — benefits from 4 to 5 minutes of boiling. The sugars have begun converting to starch, and the slightly longer cook time helps soften the kernels back to ideal texture.
Frozen corn on the cob (still frozen when added) needs 5 to 8 minutes because the frozen temperature drops the water’s heat and the kernels need more time to heat through fully.
Older corn that has been sitting for several days may need up to 8 to 10 minutes, though at this point the sweetness has diminished significantly and no amount of boiling can fully recover it.
The single most important rule when you boil corn: always bring the water to a full, vigorous rolling boil before adding the corn. Adding corn to cold or warming water and letting it come to temperature together is the most common mistake home cooks make, and it results in uneven, often overdone corn.
Setting Up Your Pot for the Best Boiled Corn
The quality of your boiled corn begins before the corn ever touches the water. The pot you choose, the water quantity, and what you add to the water all play meaningful roles in the final result.
Choosing the Right Pot
Use the largest pot you own. Corn on the cob needs room to move freely in boiling water, and overcrowding traps steam, creates uneven heat distribution, and extends cooking time unpredictably. A standard large stockpot — 12 quarts or larger — is ideal for cooking four to six ears at once. If you are cooking for a crowd and need eight or more ears, work in two batches rather than jamming them all into a single pot.
Fill the pot with enough cold water to fully submerge all the ears of corn with about two inches of water above them. This ensures consistent heat on all sides throughout the boiling process.
Should You Salt the Water?
This is a point of genuine debate among cooks. Some argue that salt toughens corn kernels by drawing moisture out during cooking, similar to what it does to beans. Others insist that a well-salted boiling water seasons the corn from the inside out, much like pasta water.
The truth is somewhere in the middle. A small amount of salt — about one teaspoon per gallon of water — will season the corn without meaningfully toughening it. Adding large amounts of salt to the boiling water, however, can make the kernels slightly firmer than ideal.
The Sugar and Milk Trick
One of the most effective and least-known techniques for enhancing boiled corn is adding a tablespoon of sugar and a splash of whole milk to the boiling water. The sugar compensates for any sweetness the corn has lost since harvest, and the milk adds a subtle richness that works its way into the kernels during cooking. This is especially useful for grocery store corn that is a few days past peak freshness.
Do not add vinegar or acidic ingredients to the water. Acid causes the pectin in corn cells to firm up, resulting in kernels that never soften properly no matter how long you boil corn.
Step-by-Step: How to Boil Corn on the Cob Perfectly
Understanding the process as a complete sequence — rather than isolated steps — makes perfect corn repeatable every single time.
Husking and Cleaning the Corn
Start by removing the outer green husks completely. Pull them down from the top and tear them off at the base. Once the husks are removed, you’ll see the silk — those thin, thread-like strands that cling to the kernels. Remove as much silk as possible by hand, then run the ear under cool water and use a vegetable brush or a dry paper towel to remove any remaining strands. Silk left on during boiling will not harm the corn, but it can make serving messy and is easier to remove when dry than when wet and steamed.
Some cooks prefer to leave the husks on during boiling, which creates a slightly more steamed effect and helps the corn retain more of its natural moisture. This is a valid technique, though it does extend cooking time by two to three minutes and makes it harder to judge when the corn is done.
Bringing the Water to Boil
Place your pot on the largest burner and bring the water to a full, aggressive rolling boil over high heat. Do not rush this step by adding corn before the water is ready. A true rolling boil means large bubbles breaking the surface continuously and vigorously — not a gentle simmer or a few bubbles around the edges.
Adding corn to insufficiently boiling water is one of the primary reasons people end up with unevenly cooked or mushy corn on the cob.
Adding the Corn and Timing It
Once the water is at a full rolling boil, carefully lower the husked ears of corn into the pot using tongs. The water temperature will drop momentarily as the cool corn is added. Start your timer only once the water has returned to a full rolling boil — not from the moment the corn enters the pot.
For fresh sweet corn, set your timer for 3 to 4 minutes. For store-bought corn that is a few days old, allow 5 minutes. When the timer goes off, remove one ear, let it cool for ten seconds, and press a fingernail into one kernel. If juice spurts out and the kernel is tender with a slight bite, the corn is done. If the kernel feels starchy or hard, return it for one more minute and test again.
Removing and Serving
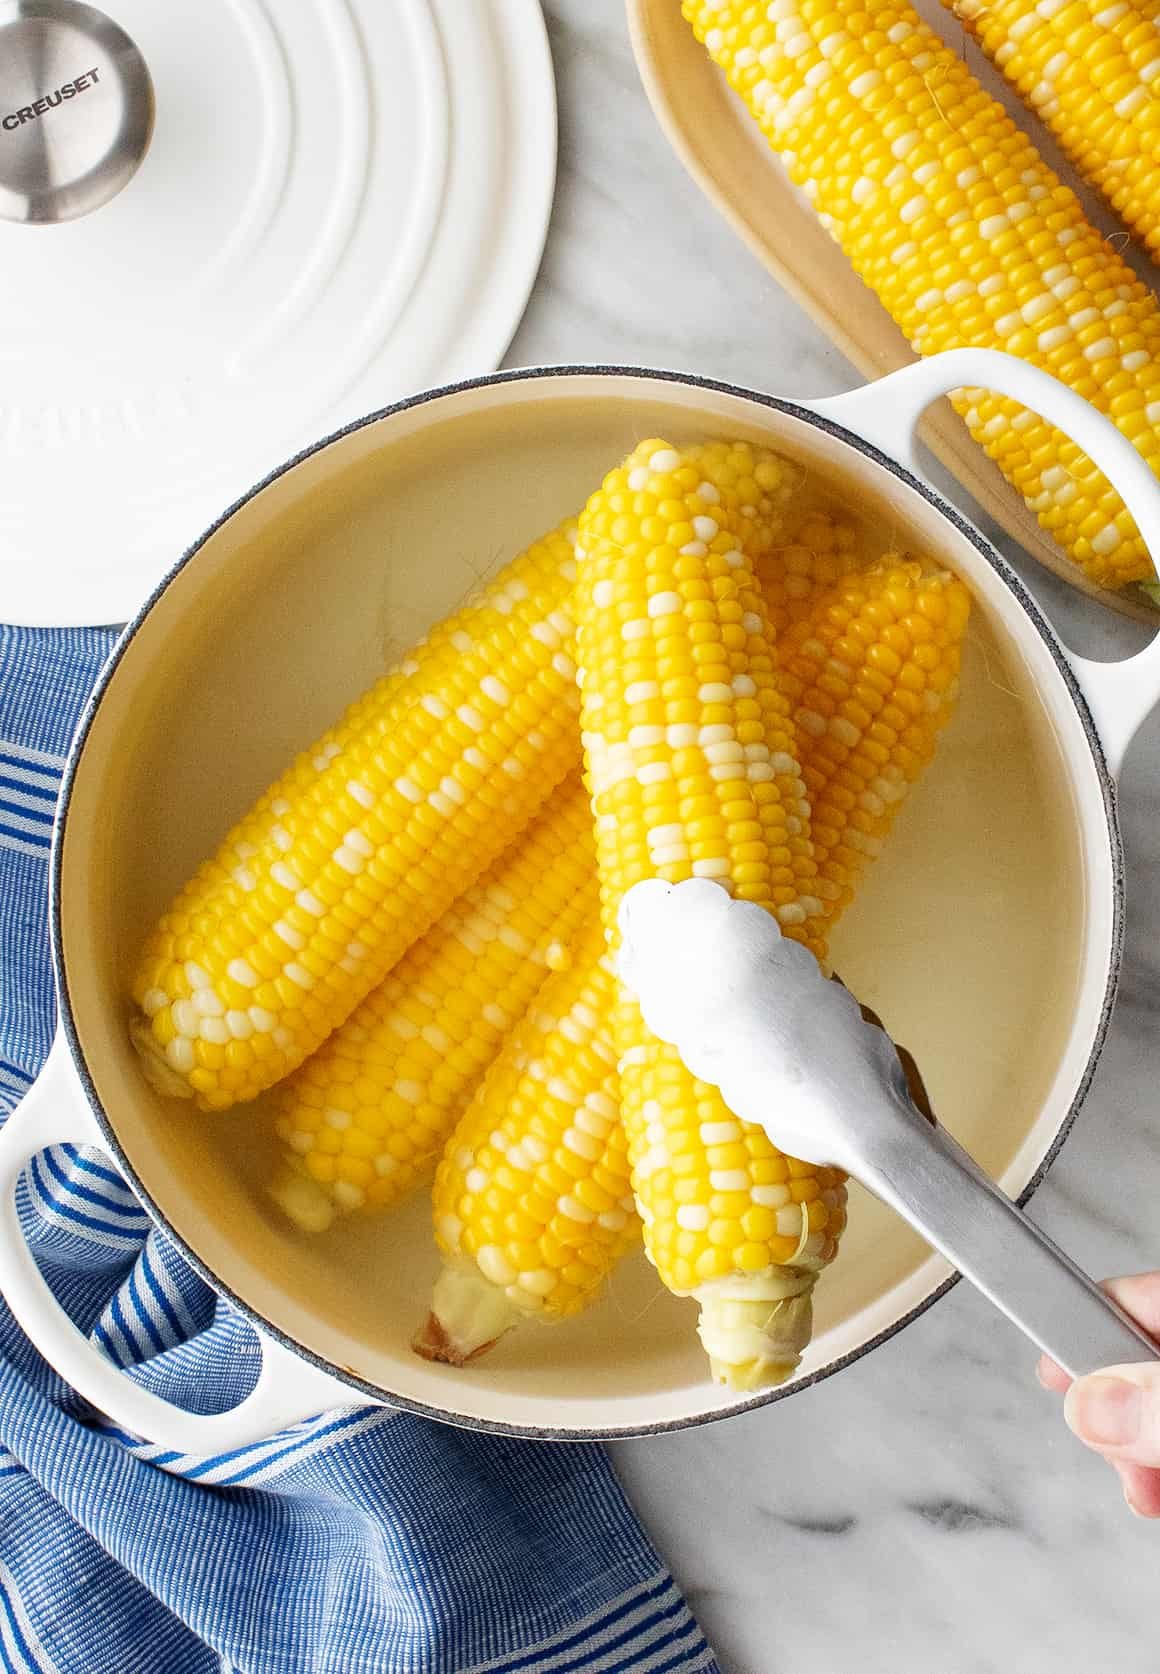
Use tongs to remove each ear from the boiling water and place them on a clean kitchen towel or a serving platter. Do not plunge them into cold water — corn does not need to be shocked to stop cooking the way green vegetables do, and cold water will rinse away the natural surface starch that helps butter adhere.
Serve immediately with butter, salt, and whatever toppings you prefer. Freshly boiled corn is at its absolute best within five minutes of leaving the pot.
How to Tell When Boiled Corn Is Done
Knowing your timer is one tool, but learning to read the corn itself gives you a reliable backup system that works regardless of corn age, variety, or altitude.
Visual Cues
As corn boils, the color of the kernels shifts from a pale, almost translucent yellow to a brighter, more vivid golden yellow. This color change is one of the most reliable visual indicators that the corn is approaching doneness. If the kernels still look pale or whitish, the corn needs more time.
The Fingernail Test
Press your fingernail firmly into one kernel. Done corn will release a burst of clear, slightly milky juice and the kernel will give way with a tender press. Undercooked corn will feel firm and starchy and won’t release much juice. Overcooked corn will feel soft and mushy with little resistance.
The Aroma Test
Properly cooked boiled corn releases a distinctly sweet, starchy aroma as it cooks. If you lean over the pot around the four-minute mark and take a breath, you should notice a gentle sweetness rising with the steam. If there’s no aroma at all, give it another minute.
Common Mistakes That Ruin Boiled Corn
Even experienced cooks fall into a few predictable traps when cooking corn on the cob. Avoiding these makes a noticeable difference in the final result.
Adding corn to cold water and boiling together is the most widespread mistake. It exposes the corn to prolonged heat, which converts its natural sugars to starch faster and results in a tougher, less sweet kernel. Always boil first, then add the corn.
Cooking for too long out of caution is equally damaging. Many people default to 10 or 15 minutes because they are afraid of serving undercooked corn. At those times, even the freshest corn becomes waterlogged and loses its characteristic snap and sweetness.
Neglecting to season the water is a missed opportunity. Plain unsalted water produces plain corn. A pinch of salt and a spoon of sugar costs you nothing and meaningfully improves the flavor of each ear.
Leaving corn in the hot water after it is done is a subtle but real problem. Even after you turn off the heat, residual hot water continues cooking the corn. Remove it the moment it is done and serve it promptly.
Keeping Boiled Corn Warm for a Crowd
If you are cooking for a large group and need to keep corn warm without continuing to cook it, there are two reliable methods.
The first is to turn off the heat and leave the corn in the hot water with the lid on. The insulated water stays warm for 15 to 20 minutes without meaningfully overcooking the corn — provided it was cooked correctly to begin with.
The second is to wrap each finished ear tightly in aluminum foil. The foil traps heat effectively and keeps the corn warm for up to 30 minutes, making it ideal for outdoor cookouts where timing is unpredictable.
Flavor Variations Beyond Butter and Salt
Once you’ve mastered the basic technique of how to boil corn, there is a world of flavor options to explore. The boiling process itself can be used as an opportunity to infuse subtle flavors into the kernels.
Adding a few sprigs of fresh thyme or a bay leaf to the boiling water gives the corn a gentle herbal undertone that pairs beautifully with grilled meats. A tablespoon of honey in the water enhances the corn’s natural sweetness without tasting overtly sweet. For a Southwestern profile, add a dried chili pepper or a teaspoon of smoked paprika to the pot.
After boiling, the topping possibilities are endless. Mexican-style elote preparation — rolled in mayonnaise, cotija cheese, chili powder, and lime juice — transforms boiled corn into a completely different eating experience. Herb butter made with garlic, parsley, and lemon zest is another restaurant-quality topping that takes less than five minutes to prepare.
Conclusion: Master the Boil and Never Overcook Corn Again
Boiling corn on the cob is one of cooking’s most reliable pleasures — fast, forgiving, and deeply satisfying when done right. The key takeaways are straightforward: always bring your water to a full rolling boil before adding the corn, cook fresh sweet corn for just 3 to 5 minutes, season your water thoughtfully, and test for doneness rather than relying solely on a timer.
Whether you are cooking for two on a Tuesday evening or feeding a crowd at a backyard barbecue, the principles are exactly the same. Once you internalize the timing and learn to read the corn itself, you will find that perfectly boiled corn is one of the easiest things you can make — and one of the most reliably crowd-pleasing.
Now fire up that burner, get your water boiling, and enjoy every sweet, golden bite.
Frequently Asked Questions (FAQs)
Q1: How long should I boil corn on the cob?
For fresh sweet corn, boil it for 3 to 5 minutes in already-boiling water. Grocery store corn that is a few days old benefits from 4 to 5 minutes. Frozen corn on the cob needs 5 to 8 minutes. Always start your timer after the water returns to a full rolling boil following the addition of the corn, not from when it first enters the pot.
Q2: Should I add salt to the water when I boil corn?
A small amount of salt — about one teaspoon per gallon of water — is fine and helps season the corn. Avoid adding large amounts of salt as it can slightly toughen the kernels. Adding a tablespoon of sugar to the water is a popular trick that enhances sweetness, especially for corn that is not freshly picked.
Q3: Can you boil corn on the cob with the husk on?
Yes, you can boil corn with the husk on. It creates a slightly steamed effect and helps retain moisture. However, it adds 2 to 3 minutes to the cooking time and makes it harder to judge doneness visually. Most cooks prefer to remove the husks before boiling for easier timing and serving.
Q4: How do I know when boiled corn is done?
Look for a brighter, more vivid golden color in the kernels compared to when they went in. Press a fingernail into one kernel — done corn releases a burst of milky juice and gives way with a tender press. If the kernel feels starchy or hard, cook for one more minute and test again. Avoid overcooking, which makes kernels mushy and removes natural sweetness.
Q5: How do I keep boiled corn warm without overcooking it?
Turn off the heat and leave the corn in the hot water with the lid on — it will stay warm for 15 to 20 minutes without significant overcooking. Alternatively, wrap each finished ear tightly in aluminum foil to keep it warm for up to 30 minutes. This is especially useful at outdoor cookouts or when serving large groups with varied timing.
How to Make Coffee Without a Coffee Maker