
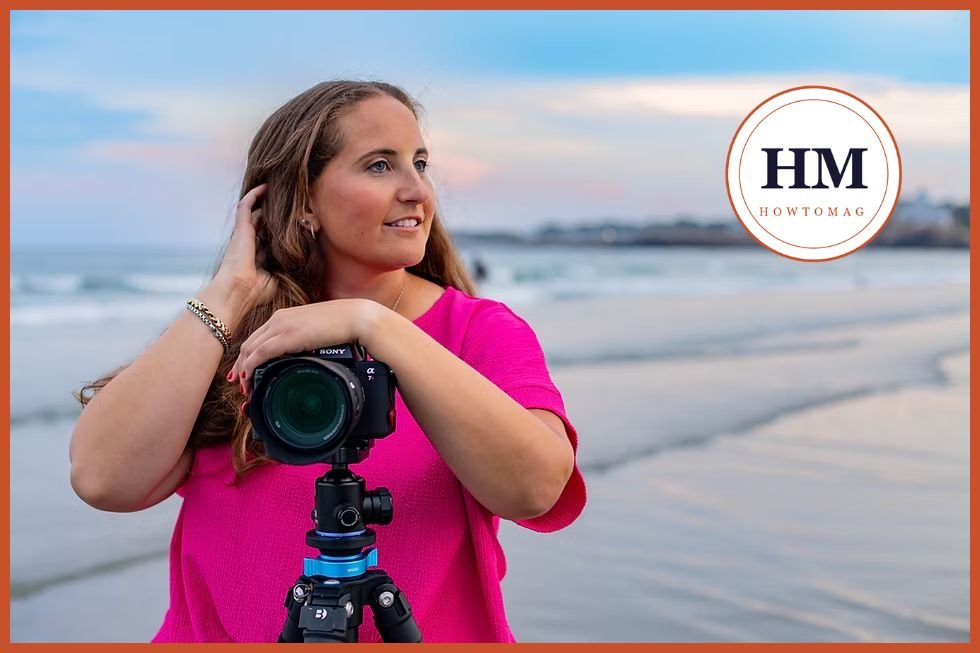
There is nothing more frustrating than reviewing your shots and finding beautiful moments ruined by motion blur. If you have ever wondered how to fix shaky hands photography, you are not alone. Camera shake is one of the most common complaints among photographers at every level — from beginners shooting on a smartphone to experienced DSLR users working in low light. The good news is that this problem is almost always fixable, and often without spending a single penny on new gear.
This guide walks you through every practical solution, from technique and posture to camera settings and stabilisation tools, so you can start capturing crisp, professional-quality images regardless of your skill level or equipment.
Why Camera Shake Happens in the First Place
Before you can solve the problem, it helps to understand what causes it. Camera shake occurs when your hands move — even slightly — during the moment the shutter is open. The longer the shutter stays open, the more time there is for movement to register on the sensor, resulting in blur.
This is why low-light photography is so unforgiving. In dim conditions, your camera compensates by using a slower shutter speed, which magnifies the effect of any hand tremor. Wind, fatigue, an awkward grip, or even the act of pressing the shutter button can all introduce enough movement to soften an otherwise perfect image.
Understanding this cause-and-effect relationship is the foundation of learning how to fix shaky hands photography at its root.
Master Your Grip and Body Posture
The single most underrated solution to camera shake costs nothing: your physical technique. Most photographers never think consciously about how they hold their camera, yet proper posture and grip can eliminate a significant portion of hand tremor before any setting is changed.
Hold your camera with your right hand firmly on the grip, with your left hand cradling the lens from underneath — not gripping the side of it. This distributes the weight more evenly and gives you a stable platform. Tuck your elbows close to your body rather than letting them wing outward. Think of your arms as a tripod — the tighter the structure, the steadier the result.
Your stance matters too. Stand with your feet shoulder-width apart, one foot slightly forward. If you are shooting at a low angle, kneel and rest your elbow on your knee rather than holding the camera in mid-air. Leaning against a wall, a tree, or any fixed surface adds another layer of stability.
Breathing also plays a surprising role. Many photographers instinctively hold their breath and then release it as they shoot, which creates a small but measurable body movement. Instead, exhale slowly and press the shutter at the natural pause between breaths — a technique borrowed from precision shooting sports.
Use the Right Shutter Speed for the Situation
Camera settings are the next line of defence when learning how to fix shaky hands photography. The most important rule here is the reciprocal rule: your shutter speed should be at least the reciprocal of your focal length to avoid motion blur from hand movement.
If you are shooting with a 50mm lens, your minimum shutter speed should be 1/50th of a second. Using a 200mm telephoto? You need at least 1/200th. On a crop-sensor camera, factor in the crop multiplier — a 50mm lens on an APS-C body behaves more like an 80mm, so your minimum shutter speed adjusts accordingly.
When the light is too low to achieve a fast enough shutter speed without excessive noise, raise your ISO. Modern cameras handle high ISO remarkably well, and a slightly grainy but sharp image is always preferable to a smooth but blurry one.
Leverage In-Camera and In-Lens Image Stabilisation
Most modern cameras and many lenses now include built-in stabilisation systems — described variously as Optical Image Stabilisation (OIS), Vibration Reduction (VR), or In-Body Image Stabilisation (IBIS) depending on the manufacturer. These systems physically compensate for small movements by shifting lens elements or the camera sensor in real time.
When activated, image stabilisation can give you two to five extra stops of handheld shooting ability, which is transformative in low light. According to Canon’s imaging technology documentation, their latest IS systems can compensate for up to eight stops of shake in certain modes — a figure that would have seemed impossible a decade ago.
Always ensure stabilisation is switched on when shooting handheld, and turned off when using a tripod to prevent the system from hunting for movement that isn’t there.
Physical Stabilisation Tools That Make a Real Difference
Sometimes technique and settings alone are not enough — particularly in very low light, at extreme focal lengths, or when shooting video. This is where physical support tools become invaluable for anyone working on how to fix shaky hands photography in demanding conditions.
A sturdy tripod is the gold standard. It eliminates hand movement entirely and is non-negotiable for long exposures, astrophotography, and architecture. Pair it with a remote shutter release or use your camera’s built-in self-timer to avoid introducing shake when pressing the button.
When a tripod is too bulky, a monopod offers a good compromise — providing one axis of stabilisation while keeping you mobile. Bean bags, Gorillapods, and wall mounts are also excellent low-profile alternatives for street photography or travel.
For video shooters, a gimbal stabiliser is the most effective tool available. It uses motorised axes to counteract movement in real time, producing footage that looks as though it was captured on a dolly even when walking.
Post-Processing: The Last Resort for Fixing Blur
If a shot has already been taken and suffers from mild camera shake, post-processing software offers some recovery options. Adobe Photoshop’s Shake Reduction filter, found under Filter > Sharpen, uses algorithms to analyse blur patterns and partially reverse them. Lightroom’s sharpening and masking tools can also recover fine detail lost to slight camera movement.
However, post-processing is genuinely a last resort. Software can reduce the appearance of blur but cannot fully restore detail that was never captured. Prevention, through technique, settings, and stabilisation, will always produce superior results.
Conclusion
Mastering how to fix shaky hands photography is not about having the most expensive gear — it is about understanding the cause of camera shake and applying the right combination of technique, settings, and tools for every situation. Start with your grip and posture, set your shutter speed correctly, use your stabilisation system, and reach for physical support when the conditions demand it. Apply these principles consistently and blurry images will quickly become a thing of the past, replaced by sharp, confident shots that do full justice to what you see through the lens.
Frequently Asked Questions
Q1: What is the fastest way to stop shaky hands when taking photos?
Increase your shutter speed and tuck your elbows tightly into your body. These two adjustments alone can dramatically reduce motion blur without any additional equipment.
Q2: Does image stabilisation fully eliminate the need for a tripod?
No. Image stabilisation helps with handheld shooting but cannot fully replace a tripod for long exposures, macro photography, or situations requiring absolute sharpness at slow shutter speeds.
Q3: Can I fix blurry photos caused by camera shake in editing software?
Partially. Photoshop’s Shake Reduction filter can recover mild blur, but significant camera shake cannot be fully corrected in post-processing. Prevention is always the better approach.
Q4: What shutter speed should I use to avoid camera shake?
Follow the reciprocal rule: use a shutter speed at least equal to 1 divided by your focal length. For a 100mm lens, shoot at 1/100s or faster. Add one stop of speed on crop-sensor cameras.
Q5: Does shooting in burst mode help reduce camera shake?
Yes, to an extent. In a rapid burst, the middle frames often show less shake than the first or last shot. However, it is not a substitute for proper technique — it simply improves your odds of getting one sharp frame.
For further reading on camera technique, explore our guides on low light photography settings and choosing the right lens for sharp images. For technical stabilisation specs, refer to your camera manufacturer’s official documentation at Sony, Nikon, or Canon.
Back to Home